
In this blog post, I will share everything you need to know to DIY thin floating shelves and a full tutorial on how I built them. This is an easy DIY that doesn’t require many power tools.
You will find different ways to do it, but I built solid wood floating shelves using shelf brackets in this DIY project. I wanted a minibar area with DIY floating wood shelves in our media room where I have lime washed my walls and painted projector screen wall and did a window bench out of IKEA cabinets.
Let’s dive into some questions you might have before going into step-by-step instructions for this shelf project.
Disclaimer: This post may contain some affiliate links, meaning if you buy using these links, I will make some commission with no extra cost to you.
What is the best wood for floating shelves?
The best wood for floating shelves simply depends on your preference. It can be pine or poplar if you are looking for budget options. Pine is the cheapest option, but you may have to pick the pieces with fewer knots and bows carefully. I’d recommend choosing select pine to get that smooth finish without many knots. Poplar is also a good option as it has a better finish but is a little more expensive than select pine. I chose to go with {select pine} for my DIY project.
There are great options like walnut, oak, cherry, and mahogany if you want a sturdier and more expensive look.
What should be the depth of DIY thin floating shelves?
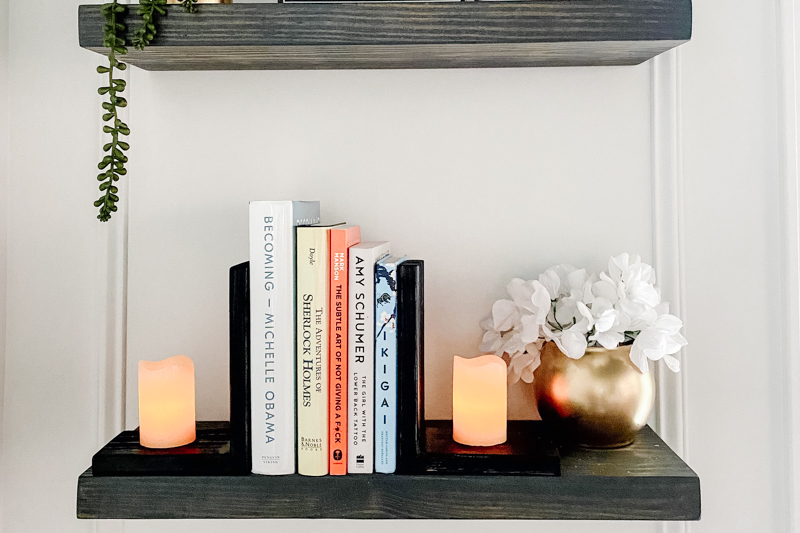
Floating shelves of depth 10-12 inches fit most purposes, be it open kitchen shelves, bookshelves in the living room, or bar shelves holding wine bottles. While that’s the short answer, you can customize your shelves to your desired depth. If you are only planning to put on some photo frames, build some ledges like {these} that are only 3 inches deep. I also built floating shelves like {these} to fit some books in our living room, which are about 7 inches deep.

What should be the minimum thickness of floating wood shelves?
The minimum thickness of a floating should be 3/4th inch. If you are building a wall shelf out of solid wood, the most common thickness of the wood will be 3/4th inch or 1.5 inches. However, if you are building wall shelves out of a plywood sheet, the average thickness is about 2 1/2″ thick. But again, there is always room for customization if it’s your own DIY.
How much weight can a floating shelf hold?
A floating shelf can hold from 25 pounds to 300 pounds depending on the quality of the shelf and where you hang it. It is crucial to plan the placement of the shelves so that you can have as many studs as possible to support the longer shelves. Per stud, a shelf can hold up to 40 – 50 pounds. So if your shelf is supported by 2 studs, your shelf can hold up to 100 pounds.
Can You Hang a Shelf Without a Stud?
Yes, if you can’t find a stud supporting your floating shelf, you can use anchor screws. However, you have to be mindful of the weight you place on the shelves. Without any studs, the average floating shelf can’t hold more than ~20 pounds.
Step-by-step to DIY thin floating shelves
Materials:
- 1-in x 12-in x 2-ft select pine boards
- 1/2-in x 2-in x 2-ft trim
- Shelf brackets
- Wine glass rack
- Wood glue
Tools
- Table Saw or Circular saw
- Stud finder
- Level
- Power drill
Plan the DIY Thin floating shelves
The first step is to plan the shelves, i.e., to determine the thickness, depth, and placement of the shelves you want to build. Once you finalize the shelf measurements, think about the dimensions of wood you need to buy from a local hardware store.
I wanted my shelves to be about 12 inches deep, so I got two 1x12x2ft select pine pieces. These would perfectly fit in the 12-inch brackets that I got from Amazon.
Make The Cuts
The brackets we got are inverted U shaped and the wood should fit perfectly. Even though a 1×12 would perfectly fit the shelf brackets, I wanted to customize these to get the look I wanted. I wanted to add a trim all around the shelf. Here’s why:
- I liked the look of a 1.5-inch shelf vs. 3/4th-inch shelf in the mini bar area, but if I use a 2×12, that would be too much weight to sit on a single stud and an anchor screw. So I decided to trim it with a thicker piece to give me the look I wanted without extra weight.
- I can sleep better knowing there’s some edge that can prevent any accidental slipping or sliding of the bottles or other things we might place on the shelves.
We used a table saw to cut the wood, but you can also use a circular saw. We marked the width of the trim along the front of the shelf and cut that out to fit in the shelf brackets.
Since the trim we have is 2-ft, we have to cut a half inch on either side to have a clean front, without any joints.

Add the Trim
Once we cut the edges, it’s time to add the trim. To add the trim on the front of the shelf and the sides, we applied a thin layer of wood glue, used clamps to add pressure, and let them dry for an hour. We added trim in the front and the sides. You can spot one in the back of the image below.
You can also add brad nails using a nail gun to add some extra support. Since these shelves sit in a shelf bracket, we didn’t see the need for brad nails.

Finishing touches
Wood filling : To finish these shelves, we added some wood filler in the gaps and sanded them to make those joints seamless. If you’ve nailed the trim, fill those nail holes as well.
Quick Tip : If you can’t find a wood filler that matches the wood, pick up some saw dist, mix some wood glue, and use that as wood filler. The best part is that it’s free.


Sand : I used 12 grit and then 240 grit sandpaper to sand off the extra wood filler and the rough edges. Since select pine is already smooth, it didn’t take much time.
Seal : If you want, you can choose a stain color from many options out there, but I liked the natural wood color. It matches the plywood and my slat wall in the room. So I went ahead and applied some polyurethane to seal the wood.

Fix the shelves
Before fixing the shelves, we added wine glass rack on the bottom piece using wood screws. We made sure it was centered on the shelf and there was enough space below the shelf to hang the glasses.

Now it’s time to fix these on the wall. We marked the location of the studs on the wall. We could only find one wall stud in the left corner. So we decided to screw the floating shelf bracket into the studs on the left and use drywall anchors on the right side.
We ensured enough space between the shelves to place and grab the bottles. On the top shelf, we put some glasses and a faux plant.


This is how our DIY thin floating shelves turned out. I hope it helped you DIY solid wood floating shelves using shelf brackets. Let me know how you like them. Also checkout my other projects I’ve done in the media room. I have lime washed my walls and painted projector screen wall and did a window bench out of IKEA cabinets. See you in the next post 🙂


