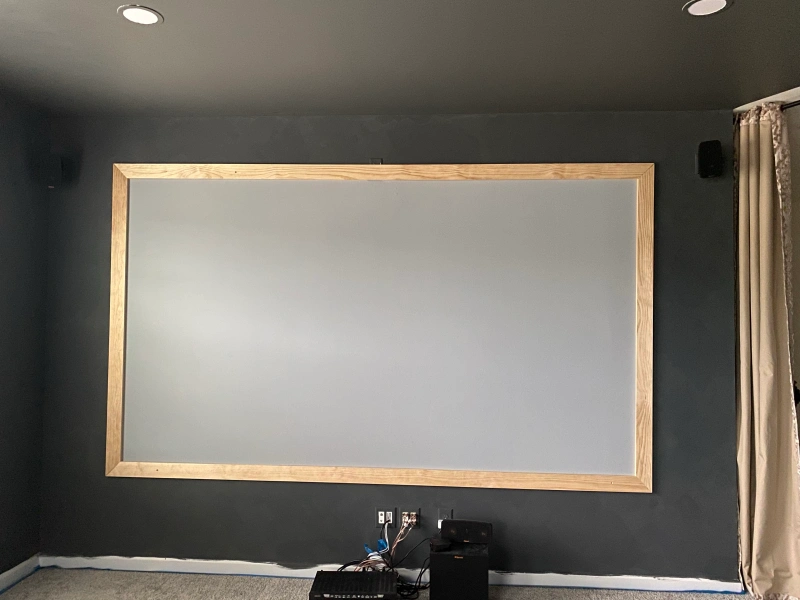
As we are upgrading our media room, we wanted to paint our white wall with screen paint to optimize the home theatre experience. I realized that the price range from $100 – $800. After some research, I found a way to replicate the exact color of a screen paint and I could make it for less than $40. I decided to give it a shot and I am very happy with the outcome. We also added a black frame around the screen and it gave a true theatre experience. In this post, I am going to share everything in detail with you.

How to upgrade your screen wall using DIY screen paint
If you want to see this in action, check out this video and you can subscribe to my channel here:
Materials I used for painting:
- Paint roller
- Behr Silver Screen/ Flat, Matte Paint #1050 – 1 Gallon
- Behr Black Matte – #1300 – 1 Quart
- Dark Pewter/ Semi Gloss – #5400 – small sample bottle
- Painters tape
- Extension pole
- Drop Cloth
- 1x4x12s – 4
1/2 Gallon of Behr Silver Screen/ Flat, Matte Paint #1050 +
1/4 Quart of Behr Black Matte – #1300 +
1 full sample bottle of Dark Pewter/ Semi-Gloss – #5400
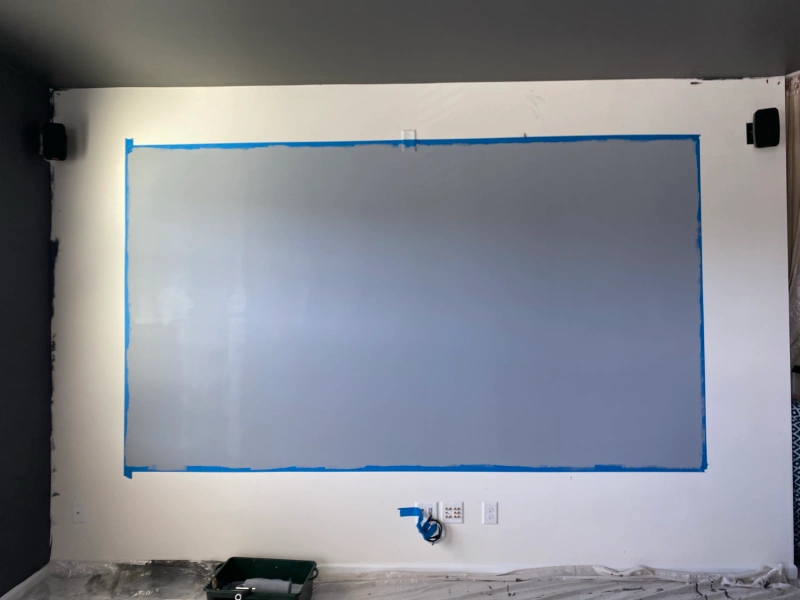
Step 1: Turn on the projector and tape the wall exactly where the screen would be projected.

Step 2: Mix all the paints mentioned above and stir them thoroughly. Then, roll the paint in the screen area carefully. It might take up to 3 or 4 coats to achieve a uniform look. Try to avoid the roller marks as much as possible.

Step 3: Once the paint is dry, turn on the projector and check if you see any uneven patches. If you do, fix it using a roller. I had to roll again in a few areas because of the roller marks.
Step 4: Now it’s time to add the frame. Before that, I painted the remaining wall with the limewash to match the other walls in the room. You can find a detailed blog on that here

Step 5: I got 1x4s to make a frame around the screen. Turn on the projector again and measure the width and length of the screen. Align the 1×4 with the edge of the screen and mark where you want to make the cuts.

Step 6: We cut the 1x4s at 45 degrees on either side.

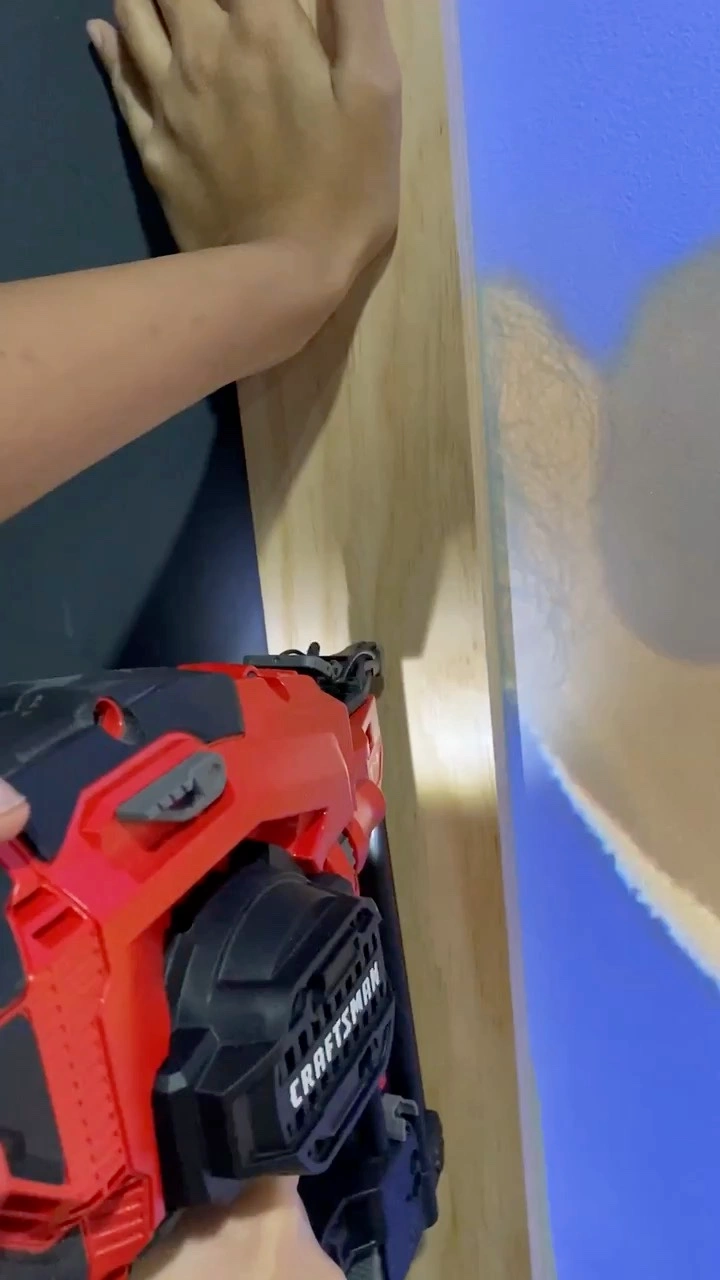
Step 7: Then we nailed them to the wall on all 4 sides of the screen and screwed them in places where found the studs.

We had a closed outlet where the frame is supposed to go. We chiseled the 1×4 using a handsaw and a chisel to fit the outlet. As you can see, we were able to hide the outlet behind the frame. In case you have an outlet that you want to use, you can easily move it.


Step 8: Finished the frame using wood filler and sand wherever necessary.

Step 9: Painted the frame carefully. It’s a good idea to paint the 1x4s before fixing them to the wall but we missed that step. So we had to paint them carefully without messing up the screen area.


How to upgrade your screen wall using DIY screen paint
Materials I used for painting:
- Paint roller
- Behr Silver Screen/ Flat, Matte Paint #1050 – 1 Gallon
- Behr Black Matte – #1300 – 1 Quart
- Dark Pewter/ Semi Gloss – #5400 – small sample bottle
- Painters tape
- Extension pole
- Drop Cloth
- 1x4x12s – 4
Mix 1 Gallon of Behr Silver Screen/ Flat, Matte Paint #1050 , 1 Quart of Behr Black Matte – #1300 and a sample bottle of Dark Pewter/ Semi Gloss – #5400
Step 1: Turn on the projector and tape the wall exactly where the screen would be projected.

Step 2: Mix all the paints mentioned above and stir them thoroughly. Then, roll the paint in the screen area carefully. It might take up to 3 or 4 coats to achieve a uniform look. Try to avoid the roller marks as much as possible.

Step 3: Once the paint is dry, turn on the projector and check if you see any uneven patches. If you do, fix it using a roller. I had to roll again in a few areas because of the roller marks.
Step 4: Now it’s time to add the frame. Before that, I painted the remaining wall with the limewash to match the other walls in the room. You can find a detailed blog on that here

Step 5: I got 1x4s to make a frame around the screen. Turn on the projector again and measure the width and length of the screen. Align the 1×4 with the edge of the screen and mark where you want to make the cuts.

Step 6: We cut the 1x4s at 45 degrees on either side.

Step 7: Then we nailed them to the wall on all 4 sides of the screen and screwed them in places where found the studs.

We had a closed outlet where the frame is supposed to go. We chiseled the 1×4 using a handsaw and a chisel to fit the outlet. As you can see, we were able to hide the outlet behind the frame. In case you have an outlet that you want to use, you can easily move it.


Step 8: Finished the frame using wood filler and sand wherever necessary.

Step 9: Painted the frame carefully. It’s a good idea to paint the 1x4s before fixing them to the wall but we missed that step. So we had to paint them carefully without messing up the screen area.

